Auto-Assign
Auto-assign rules decide where incoming messages land — they route conversations to the right inbox or person automatically, so work doesn't pile into one queue. Auto-assign is a type of Automation.
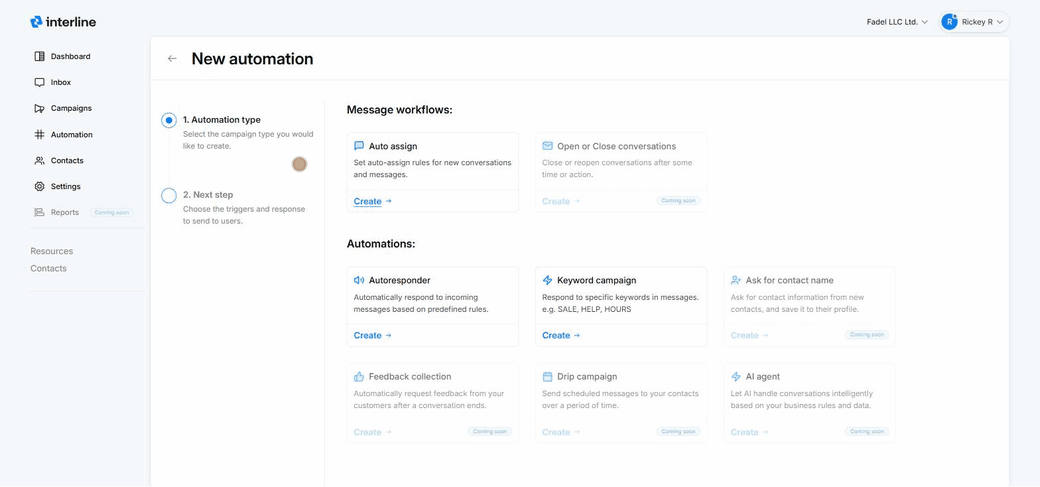
Create one from Automation → New Automation → Auto assign. Setup is a four-step wizard: Channels → Conditions → Actions → Review.
1. Channels
Choose which channels the rule applies to. Leave it on All channels (default) to apply everywhere, or pick specific ones.
2. Conditions (optional)
Define when the rule should fire. With no conditions set, it runs on all incoming messages for the selected channels. You can also:
- Add condition — narrow the trigger (for example by the incoming number/address or other attributes). Conditions are optional.
- Skip if conversation is already assigned — so the rule doesn't override an existing owner.
- Trigger assignment on — new or reopened conversations (assign only when a conversation is first created or reopened) or every message.
3. Actions (at least one required)
Define what happens when the rule matches. At least one action is required:
- Assign to inbox — move the conversation into a specific inbox.
- Assign to user — assign it to a specific team member.
- Apply tags to contact — apply one or more tags to the contact when the rule runs.
A summary shows the actions you've configured.
4. Review & save
Review the rule and save. It becomes active and starts routing matching conversations immediately. Manage and pause it from the Automation list.
Keep rules simple
Start with a few clear routing rules (by channel, number, or address) and use Skip if already assigned so you don't step on conversations a human has taken. Review your rules if conversations land in the wrong inbox.
Related
Auto-assign sends conversations to inboxes and users. For time-based and keyword-based automations, see Auto-Responders and Keyword Campaigns.